Cleaning Skate Bearings
Getting Started
If your skate bearings are starting to spin like rocks, and you’re looking to save some money, a little tedious cleaning can help bring some life back into them.
Although this guide is mainly based from what’s on Bones’ support page, it should work with other brands. Just be sure to look up their recommendations on what solvents you can clean with.
Materials
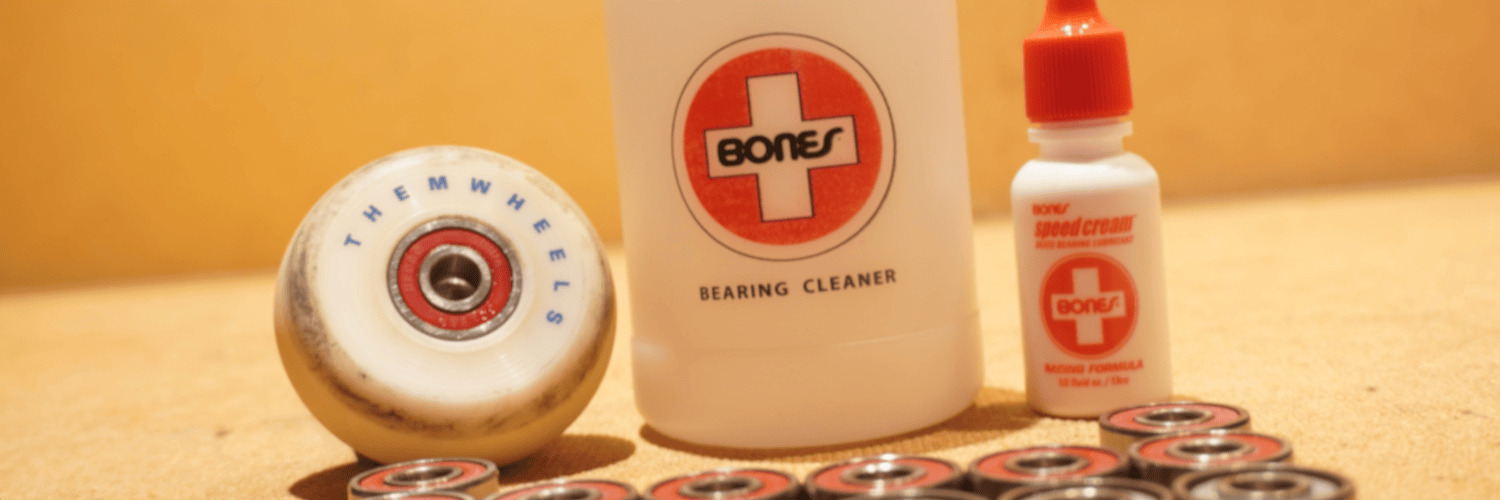
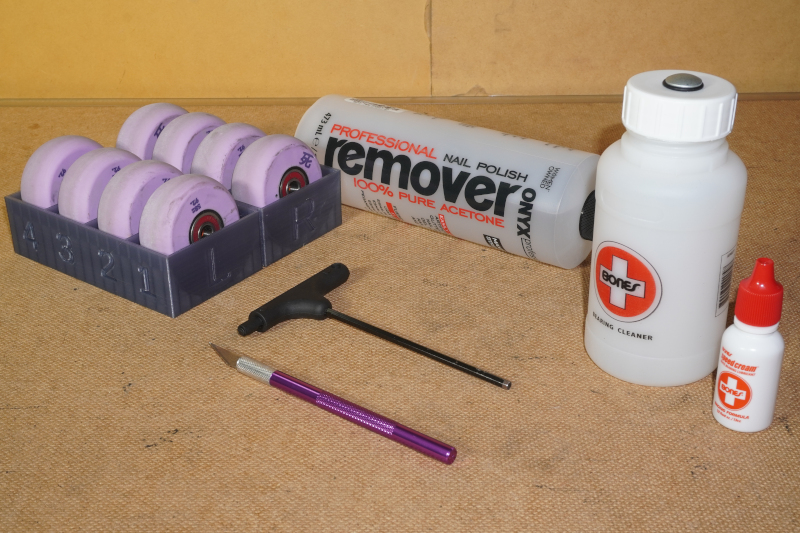
The most important materials for cleaning are solvent and lubricant. You can get by without the cleaning unit since it’s more for quality of life.
- Dirty bearings
- Bones Bearing Cleaning Unit
- Lubricant: Bones Speed Cream
- Solvent: Acetone, Methyl Ethyl Ketone, Citrus cleaner, or Denatured alcohol
- Hobby knife or an object with a thin tip
Removing the Shield Cover
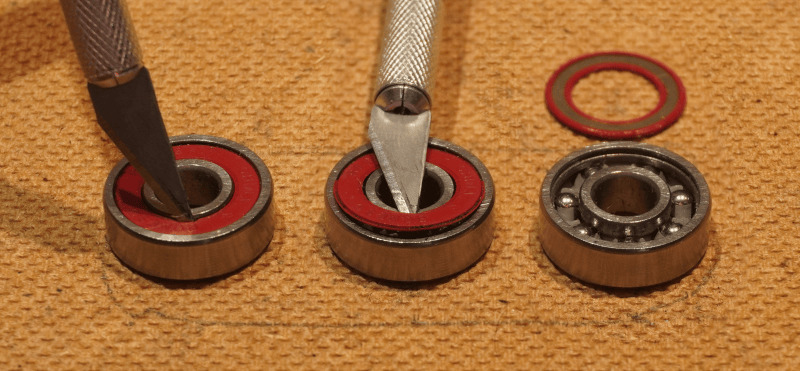
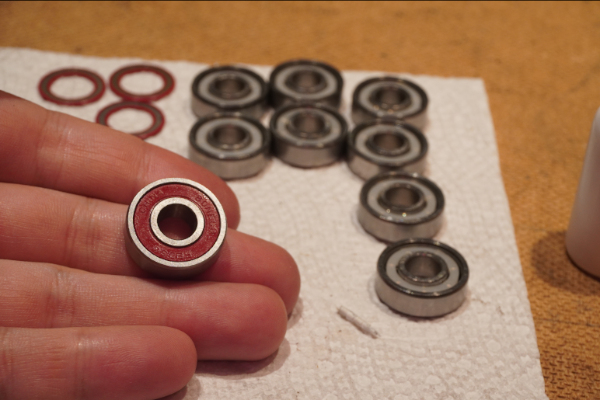
Before exposing the bearings to solvent, you’ll need to remove their shield cover as this helps to get a deeper clean. Keep in mind, depending on the materials of the shield cover, your solvent can damage it.
If you’re unsure how to remove it, look here.
Shields with rubber (like the ones here) should only be cleaned with soapy water.
Cleaning with Solvent
When working with solvents, ensure you’re in a well ventilated space with proper precautions as they’re typically toxic/flammable and can dissolve containers that are not meant to store it.
Looking back, I should’ve been using chemical resistant gloves here.
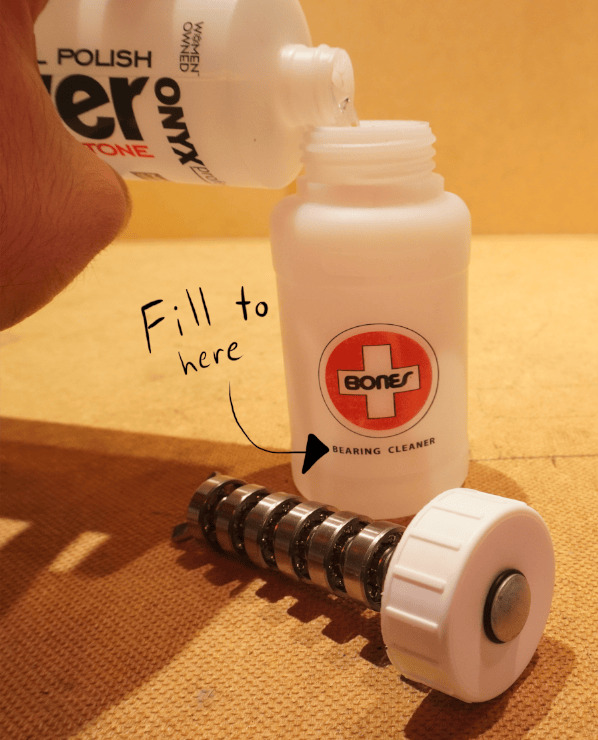
Load your bearings in the cleaning unit with a spacer between each. Exposed bearings should face towards the cap so that the solvent drains through.
You can start filling the container with solvent to where it says “Bearing Cleaner”.
Before you place your bearings in the container, take this time to remember that SHIELD COVERS MAY HAVE MATERIALS THAT CAN BE DAMAGED BY YOUR SOLVENT SO DOUBLE CHECK!
 Close the cap and give it a good shake for about 20 seconds!
 Once you’re done shaking, take the bearings out lightly tap them against a soft lint free surface
to help them dry.
Once you’re done shaking, take the bearings out lightly tap them against a soft lint free surface
to help them dry.
Lubricating and Closing Up
After your bearings are dry from cleaning, they’ll need a little lubrication to help them both spin and protect against rust.
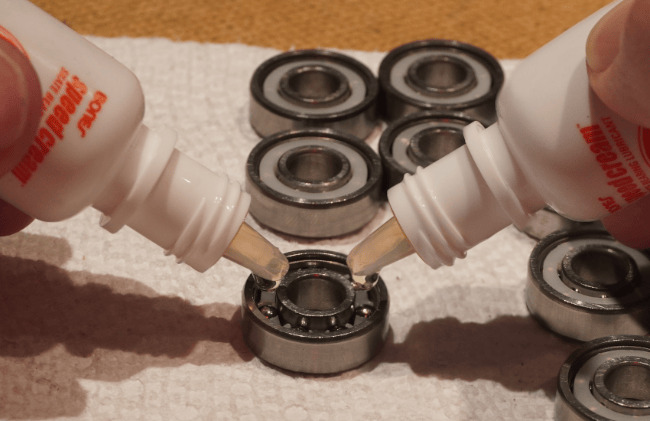
With Bones Speed Cream, normal bearings need 2 drops while ceramic types take just 1 drop.
If you’re unsure which type you have, check the box your bearings came in. Still unsure? There’s no risk in applying 2 drops as you can dip the bearings again in solvent to remove it.
 Next, spin the bearings around to help evenly spread the lubricant. You can stop when you feel it spin smoothly at every orientation.
 All that’s left is to place the shield back on each bearing! Just ensure that the shield is flat with no warping.
And you’re done!
Aside from having to deal with harmful chemicals, the cleaning process isn’t too bad. One thing to point out is that I used a paper towel to dry my bearings which isn’t ideal as tiny fibers could get stuck inside the bearings.